Creative Latte Art Techniques to Impress Your Guests

Understanding the Basics of Latte Art
Before diving into creative latte art techniques, it’s essential to understand the foundation of latte art. A well-pulled espresso shot serves as the perfect canvas. The crema, the golden layer on top, is key to achieving intricate designs. Additionally, the milk plays a crucial role; whole milk is often preferred because its fat content creates microfoam, which is essential for the art.
Essential Tools for Latte Art
- Espresso Machine: Select a reliable machine capable of brewing high-quality espresso.
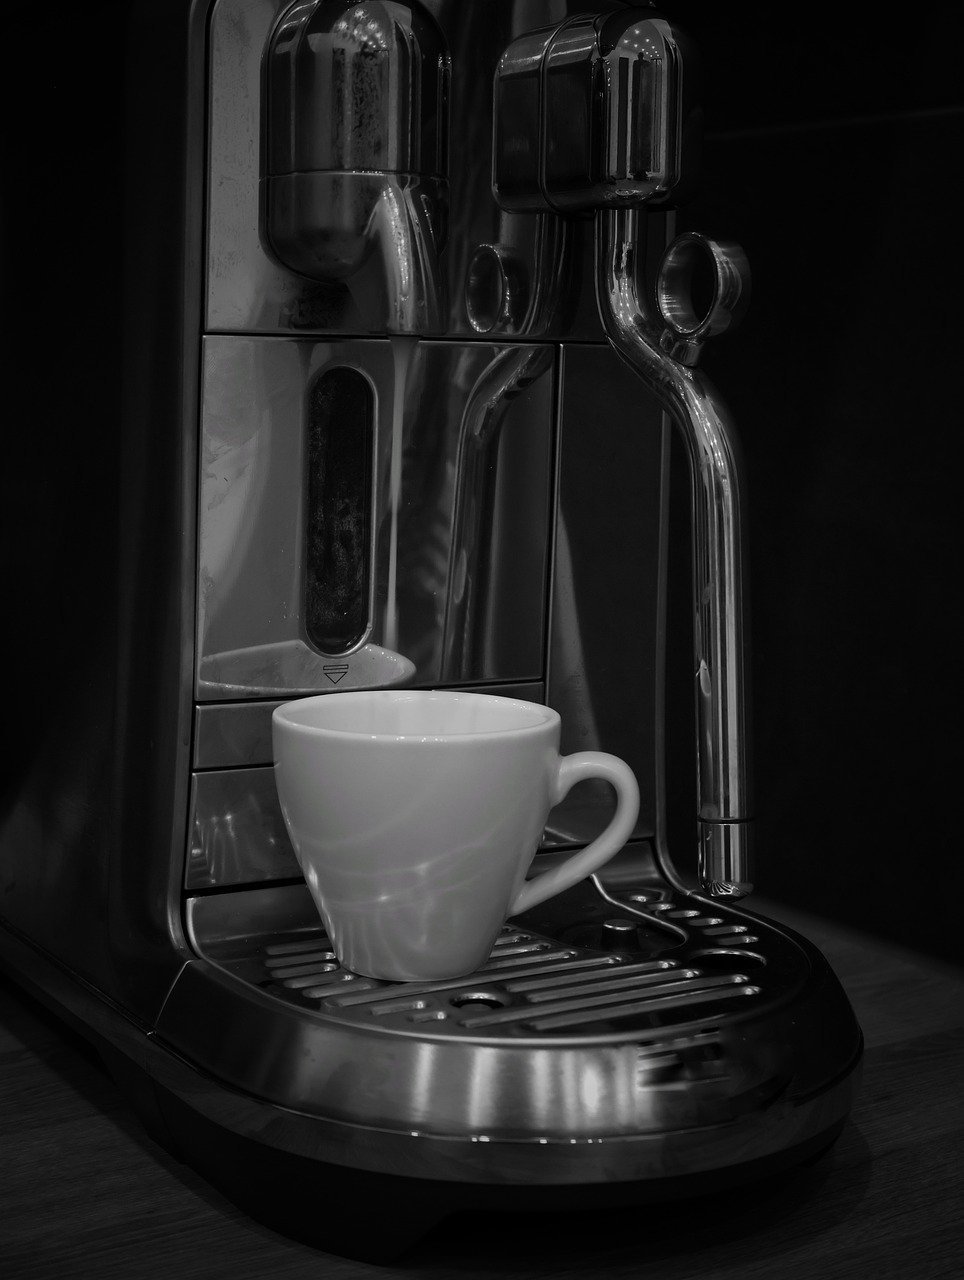
- Milk Frother or Steam Wand: A steam wand integrated into an espresso machine can create the microfoam needed for art.
- Milk Pitcher: A stainless steel pitcher with a spout for pouring is optimal for intricate designs.
- Coffee Beans: Fresh, high-quality beans will enhance flavor and crema stability.
- Thermometer: To ensure the milk is steamed to the ideal temperature (around 150°F to 155°F).
- Stencils: Simple stencils can help create patterns that are easy to replicate.
Basic Techniques for Latte Art
Free Pouring
Free pouring is a fundamental skill in latte art where the individual pours steamed milk directly into the espresso without using any tools.
- Start with the Right Pouring Position: Hold the cup at a slight angle and start pouring from about 4-5 inches high.
- Introduce the Milk: Pour slowly until the espresso begins to rise, then lower the pitcher closer to the cup’s surface.
- Create Your Design: Move the pitcher in a circular motion while gradually raising it to create a heart, rosette, or tulip.
Etching
Etching involves using a tool—such as a toothpick or a latte art pen—to create more detailed designs after initially pouring.
- Create the Base: Pour a heart or basic shape using the free pouring technique.
- Etch the Design: Once the base is established, use the etching tool to draw lines or patterns in the foam.
- Explore Shapes: You can create anything from simple leaves to elaborate mandalas by manipulating the foam carefully.
Advanced Techniques for Creative Latte Art
Layered Lattes
Layering can create stunning visual effects.
- Choose Your Ingredients Wisely: Use different milk types (whole, skim, almond) and flavor syrups (vanilla, caramel) to create contrast.
- Pouring Technique: Start with heavier liquid and pour it first. Follow with lighter liquid (like frothed milk) to create distinct layers.
- Use a Spoon for Precision: When pouring the lighter liquid, pour slowly over a spoon to avoid mixing the layers unintentionally.
Colorful Designs
Incorporating color into your latte art can transform it into an edible masterpiece.
- Natural Dyes: Use edible natural food coloring or vegetable extracts such as beet juice for a vivid hue.
- Color Mixing Techniques: Prepare different milk froths with various colors and pour them methodically to create ombre effects or vibrant patterns.
- Contrast with Chocolate or Caramel: Drizzle these sauces inside your pitcher before pouring for stunning designs.
Seasonal and Themed Latte Art Ideas
Holiday-Inspired Art
Celebrating seasonal festivities can make your latte art more engaging.
- Heart for Valentine’s Day: Create heart shapes layered with red and white foam.
- Pumpkins for Halloween: Use etching techniques to draw spooky faces on your lattes.
- Snowflakes for Winter: Use stencils to imprint snowflake designs on the froth; sprinkle cinnamon for added effect.
Customization for Guests
Engaging guests with personalized latte art can create a memorable experience.
- Initials & Monograms: Personalize drinks by etching guests’ initials into the foam.
- Custom Shapes: Inquire about favorite symbols or hobbies and create corresponding latte art using etching.
- Photo Prints: Utilize a latte art printer for guests who want an extraordinary experience, creating edible prints of their favorite images.
Troubleshooting Common Latte Art Challenges
Uneven Foam
If your foam is inconsistent, adjust your steaming technique. Ensure the milk reaches the right temperature and aeration density.
Poor Espresso Shot
If your designs aren’t holding, look into your espresso shot’s extraction. Under-extracted shots lack crema, while over-extracted ones may taste bitter.
Quick Dissolution
Foam that dissolves too quickly is often a result of poor quality milk or excessive heat. Use fresh, high-fat milk and aim for 150°F.
Perfecting Your Skills
Regular practice is essential for mastering creative latte art. Experiment with different pouring techniques and designs, and don’t hesitate to follow online tutorials or attend workshops. Take the time to try variations with multiple types of milk and flavor options to expand your repertoire.
Sharing Your Passion
Share your latte art creations on social media platforms like Instagram or TikTok for feedback and inspiration. Engage with fellow coffee enthusiasts in forums or local meetups. Documenting your progress can serve as encouragement and inspiration.
Conclusion
Embrace the artistry of latte-making by merging quality ingredients with imaginative designs. Impress your guests with beautifully crafted lattes that can elevate any gathering into an extraordinary occasion.


